To navigate your Kago Event dashboard effectively, follow these steps:
- Log In to Your Account
- Start by logging in to your Kago Event account with your username and password.

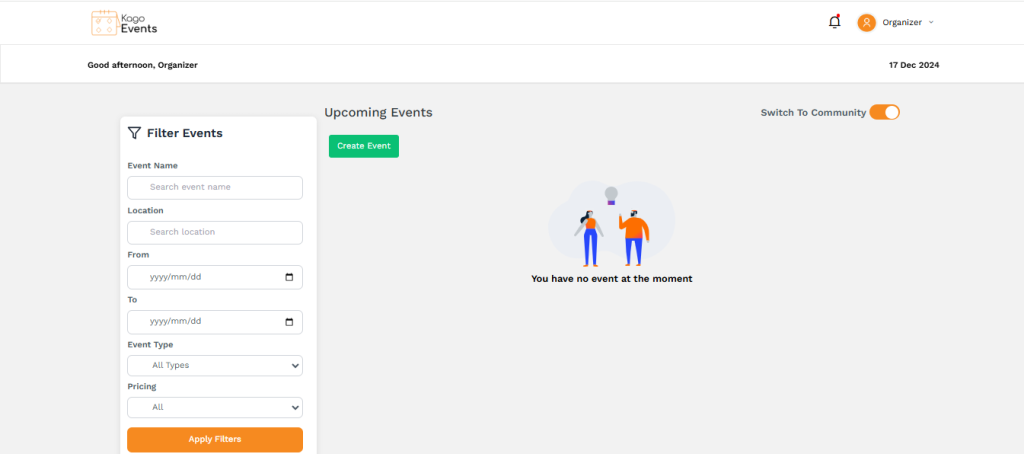
- Access the Dashboard
- Once logged in, you’ll be directed to the main dashboard. This is your central hub for managing events, viewing registrations, and accessing other features.
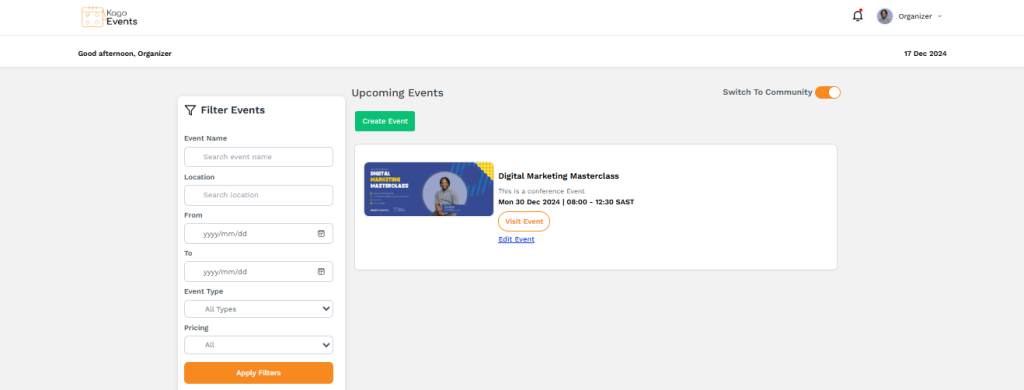
- Create or Manage Events
- Go to the Events section to create a new event or edit an existing one. Here, you can add details like the event name, date, location, and ticketing options.
Edit event details like name, description, and time.
- Update Info:
- Once you’ve entered the event name and description, click the “Update Info” button to save your changes.
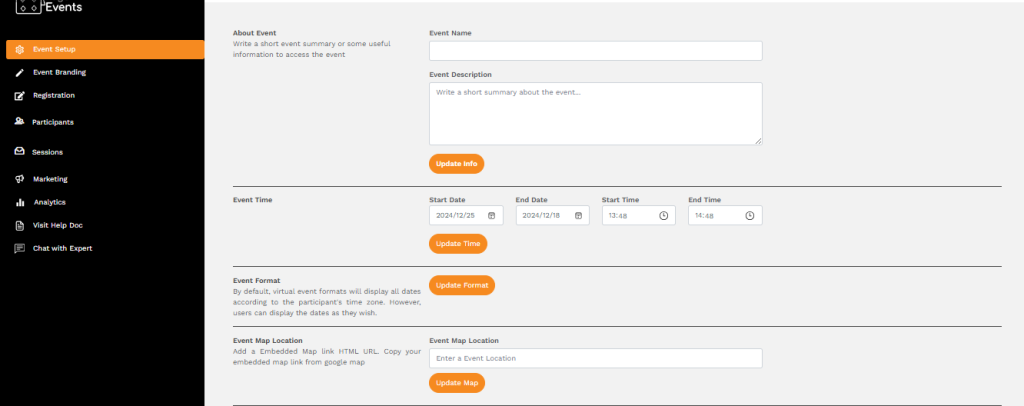
- Event Name:
- Enter the name of the event in the text box. This should be a clear and descriptive title (e.g., “Kago Digital: Customer Support Workshop 2025”).
- Event Description:
- Write a short summary about the event in the provided text box. Include key details like the purpose, audience, and agenda.
Upload logos, banners, and video introductions.
- Event Logo: Upload a logo (500 x 200 pixels) and click “Upload Logo” to save.
- Event Banner: Upload a banner image (1920 x 800 pixels) or video header, then click “Upload Banner”.
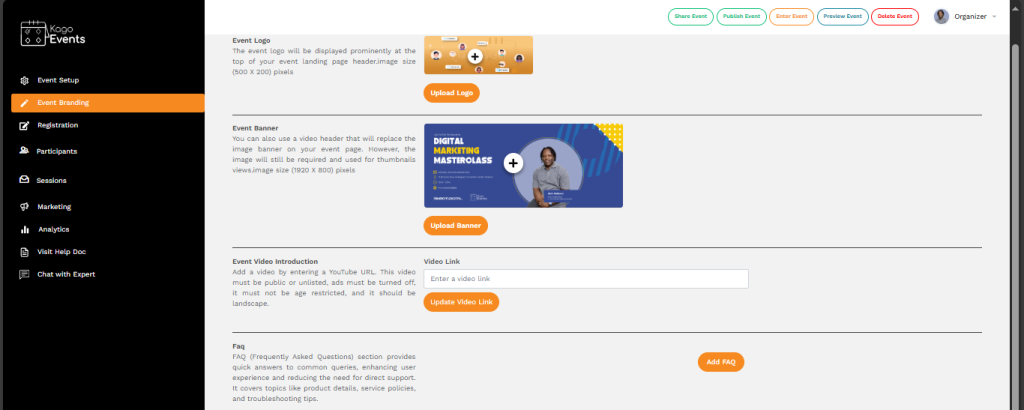
- Event Video Introduction: Add a YouTube URL (public/unlisted, no ads, landscape format) and click “Update Video Link”.
- FAQ Section: Click “Add FAQ” to include answers to common questions like product details, policies, or troubleshooting tips.
- Final Steps: Review all updates and use top buttons like Share Event, Publish Event, or Preview Event to finalize branding.
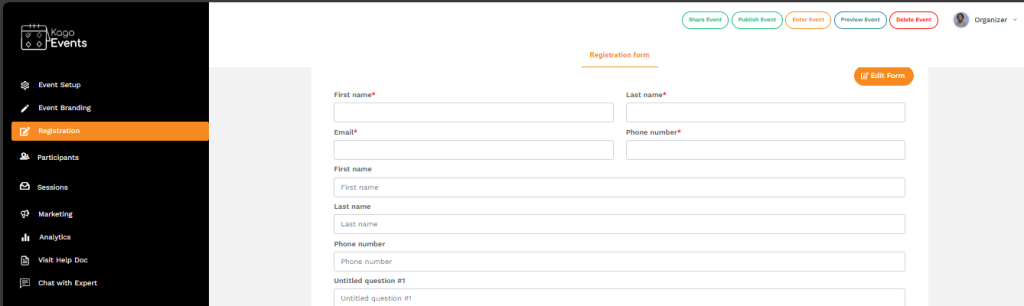
Customize registration forms and manage participant info
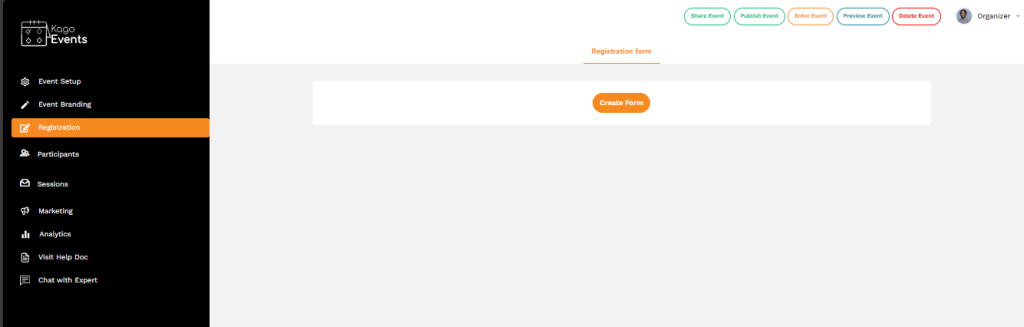
- Enter required fields like First Name, Last Name, Email, and Phone Number. Use the provided section to add custom questions by selecting the question type (e.g., Short Answer). Click the Save button to save your form. Use the + icon to add more fields if needed.
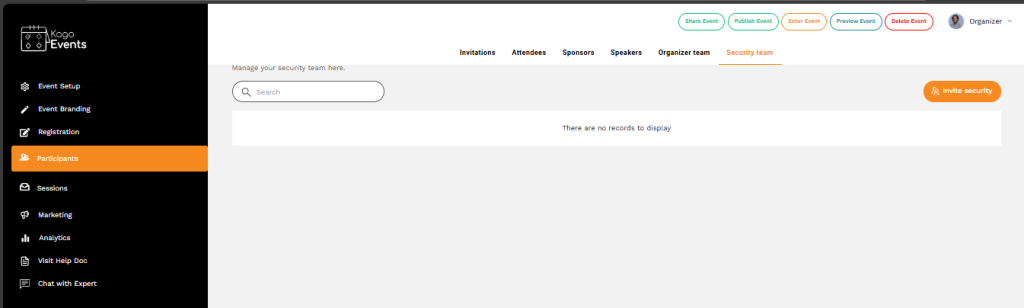
View and update participant details.
- View and manage participant details such as names, emails, and phone numbers. Add or update participant information as needed. Use options to edit, delete, or duplicate entries. Save changes to ensure all participant data is up to date.
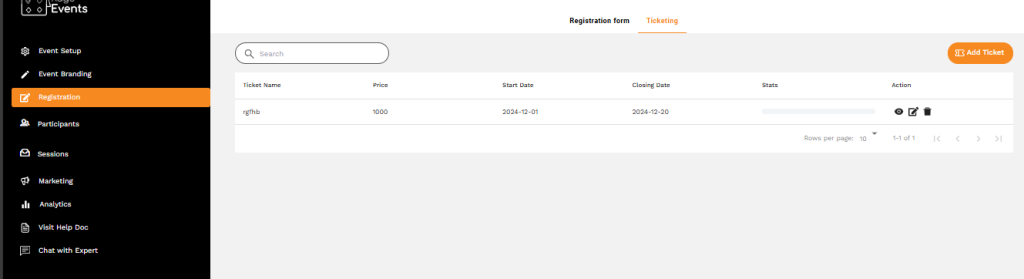
- Track Ticket Sales and Analytics
- Use the Reports or Analytics section to monitor ticket sales, registration trends, and engagement metrics. This will give you insights into your event’s performance.
- Customize Event Settings
- Go to Settings to customize event details, branding, and communication preferences. You can set up automatic email notifications, reminders, and attendee communications.
- Manage Payments and Transactions
- If you’re handling payments, the Payments section allows you to track transactions, process refunds, and view payment history.
- View Feedback and Surveys
- After the event, check the Feedback or Survey section (if available) to review attendee responses and gather insights for future events.
- Access Support and Resources
- If you need help, navigate to Support or Help Center within the dashboard. Here, you can access FAQs, tutorials, or contact Kago’s customer support.