- Log in to your Kago Events account.
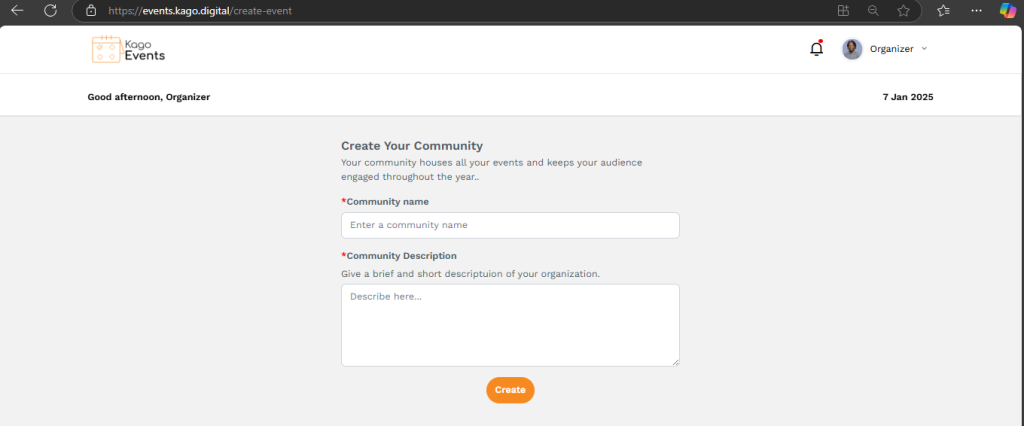
- Click create event section on the dashboard.

Fill in the required details:
- Community Name and Description
- Click Submit to create your community.
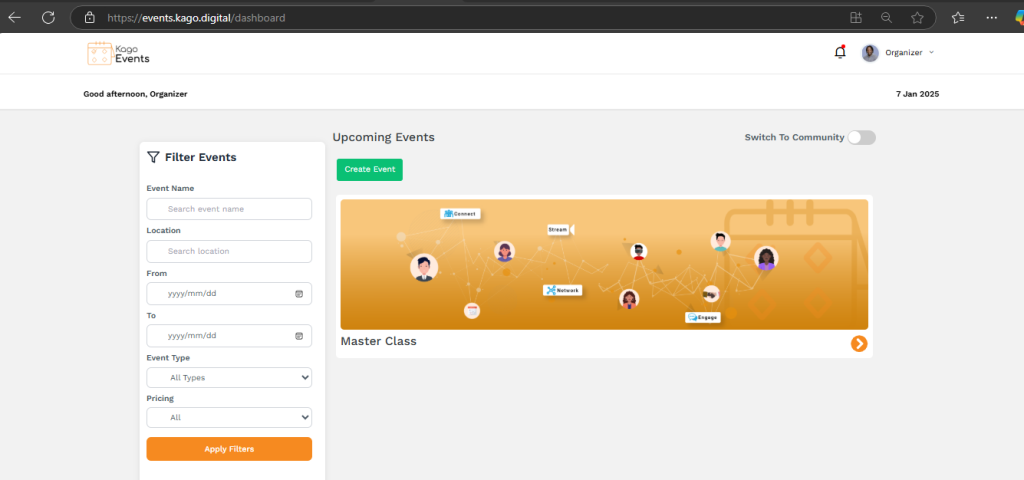
- To access your community, click Switch to Community in the top-right corner of the dashboard.
- Then, click the orange arrow button to proceed with editing your community.
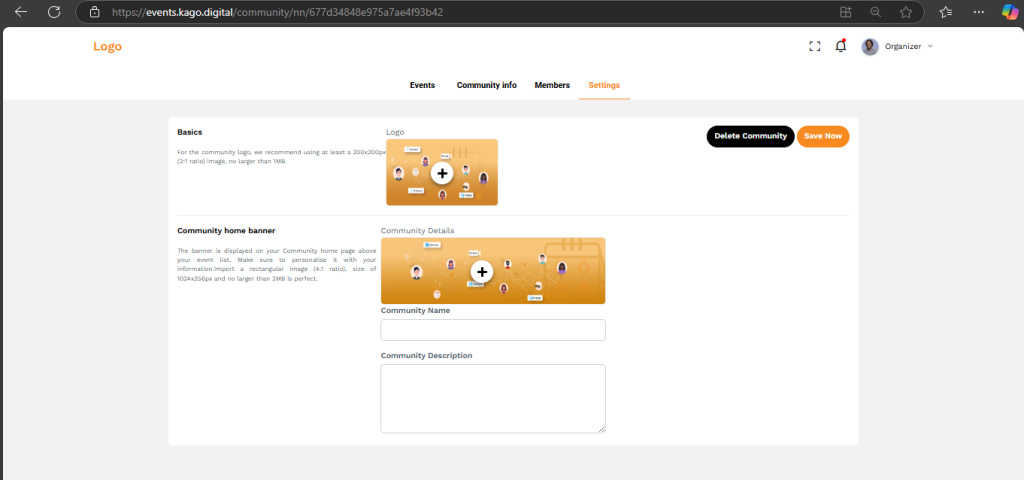
- Once created, manage and customize your community settings.
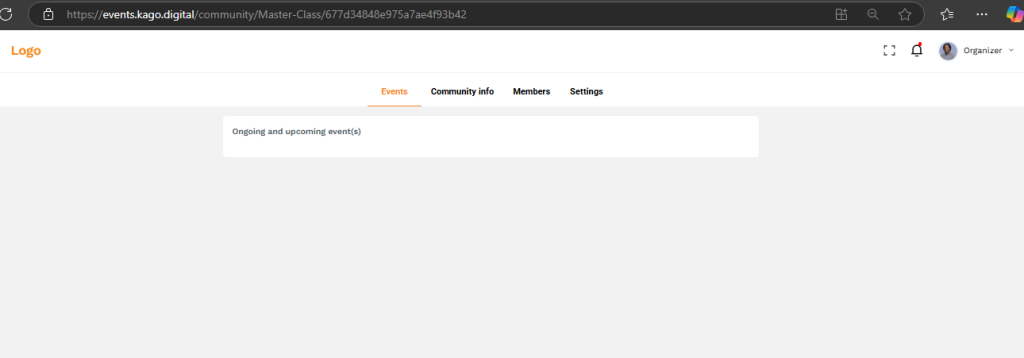
Viewing Events
- You can view all events associated with your community, including upcoming and past events, directly from the dashboard.
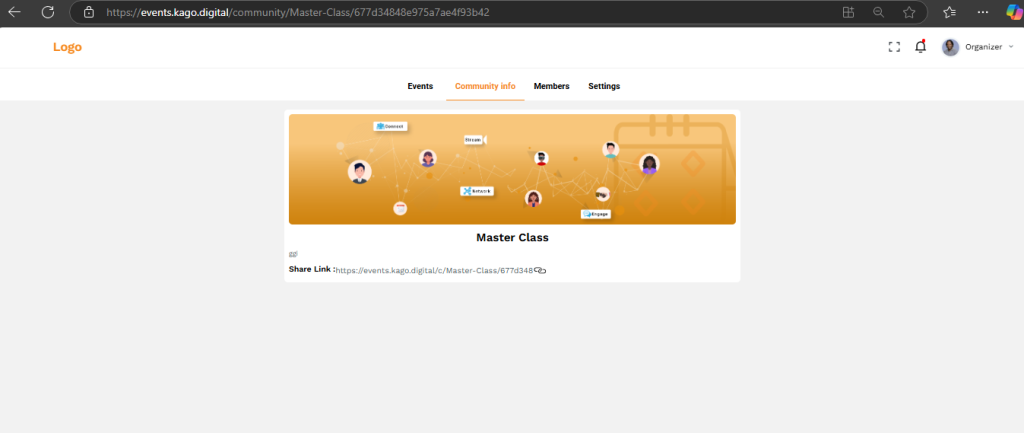
Community Information
- Access detailed information about your community, including its name, description, and settings. You can update or modify these details as needed.
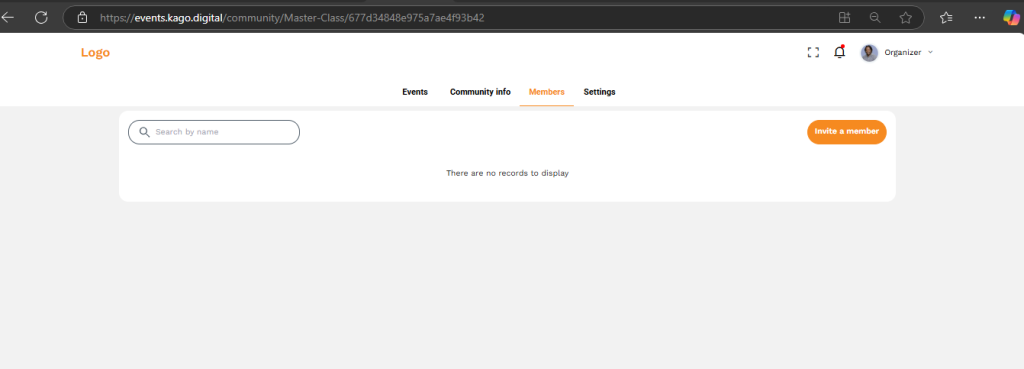
Viewing Members
- View a list of all members in your community, including their roles and participation status.
- Use the search feature to find specific members by name or role within the community.
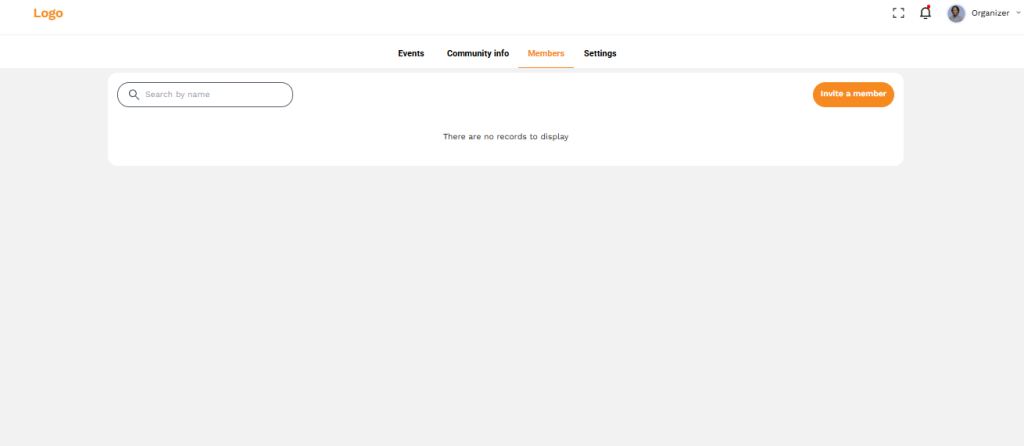
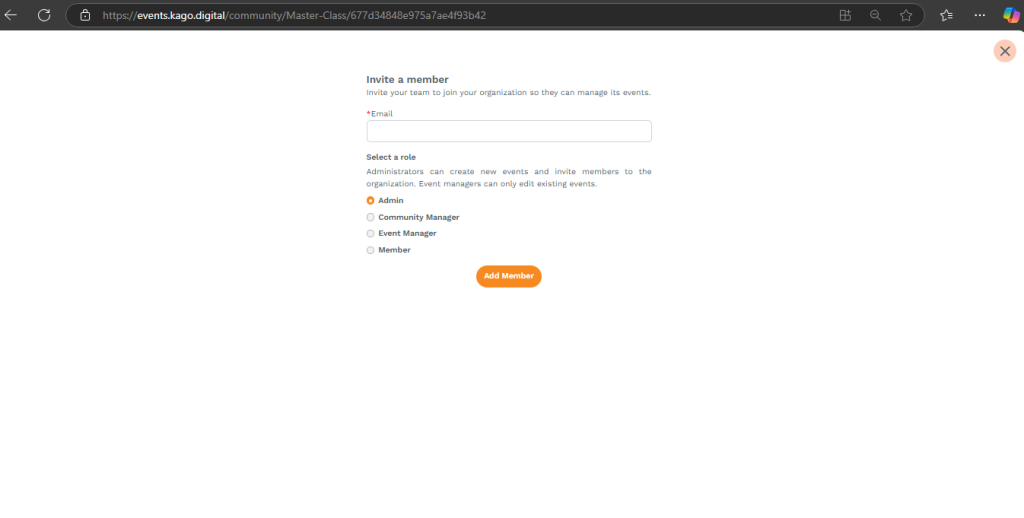
Inviting Members
- Invite new members to join your community by sending them an invitation through email or a direct link.
To exit the community platform and return to the main dashboard, simply click the orange logo located on the left side of the screen.
Troubleshooting:
- If you encounter issues during sign-up, ensure that your email address is correctly entered.
- For further assistance, contact our support team at support@kago.digital.