To create and manage attendee lists with Kago Events, follow these steps:
- Log In to Your Kago Events Account

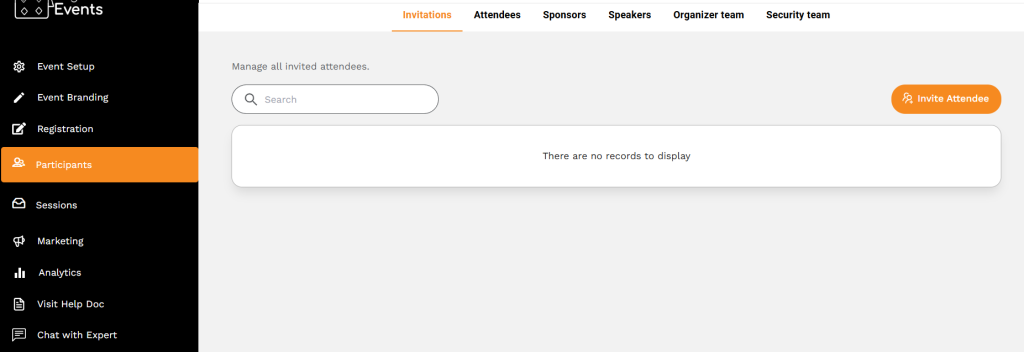
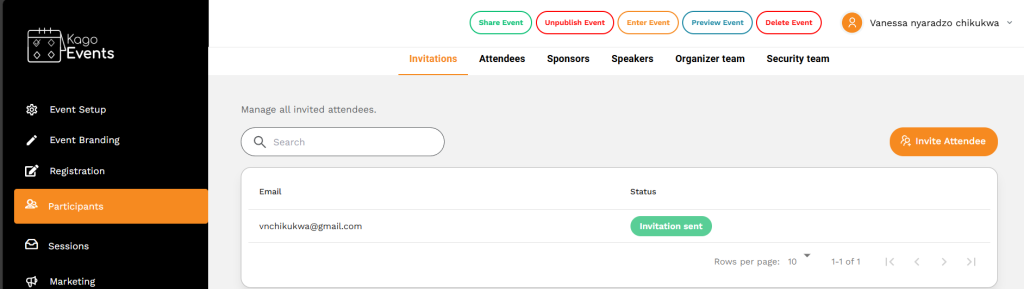
- Create an Attendee List
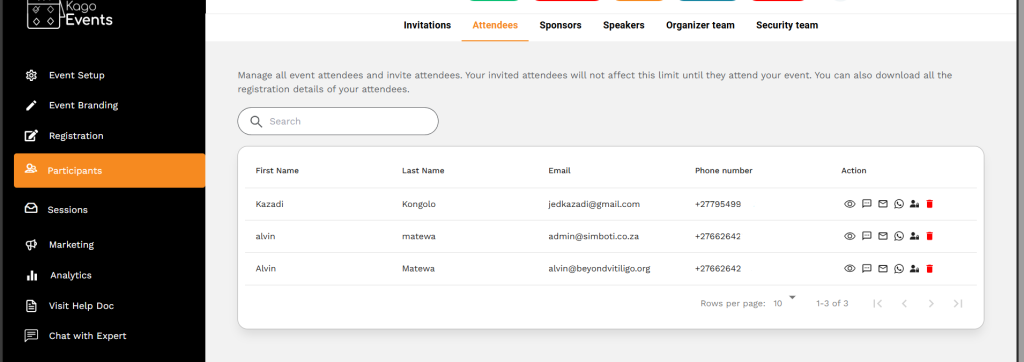
- Go to the Participant sections, where you can view, add, or manage attendee lists. For events with open registration, attendees may automatically appear here once they register.
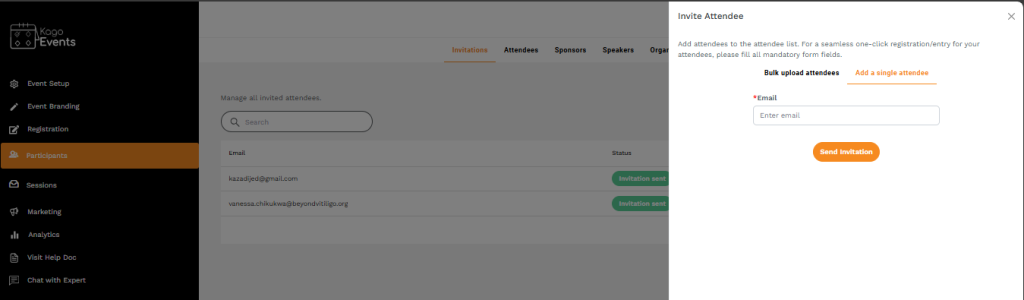
- Manually Add Attendees (If needed)
- If your event requires manual attendee entry, select the option to add attendees manually. Enter details such as name, email address, ticket type, and any other relevant information.
- Organize Attendees by Categories
- Use labels, tags, or group features to organize attendees. You can categorize by ticket type, VIP status, or special requirements, making it easier to filter and manage them.
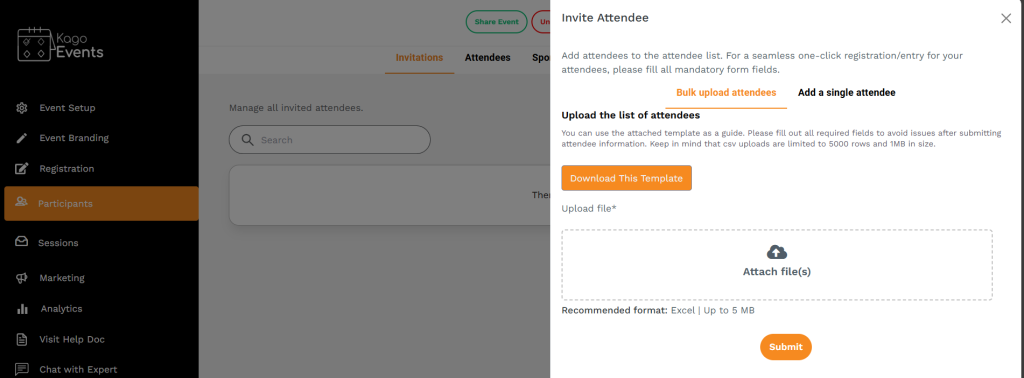
- Export Attendee Lists
- If you need to review the list offline or share it with team members, use the export function to download the attendee list as a spreadsheet (e.g., CSV or Excel). This is helpful for on-site check-ins or manual attendance tracking.
- Track Attendance
- For events with check-in, use Kago’s check-in feature to mark attendees as present. This can be done via QR code scanning or manually, depending on the platform’s setup.
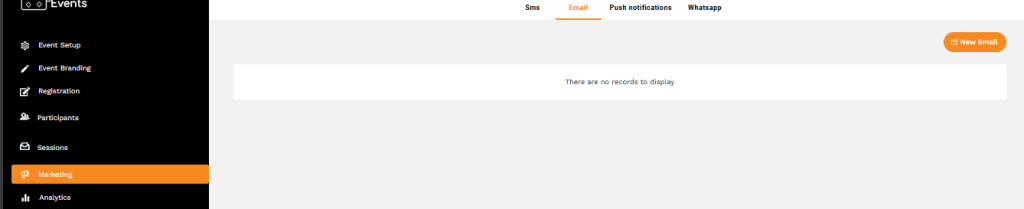
- Send Communication to Specific Attendees
- Use the attendee list to send targeted communications. For example, if you want to email VIP attendees or remind specific groups about event updates, select the relevant attendees and send customized messages.
- Update Attendee Information
- If any details change, go to the attendee list and update the information as needed. This ensures accurate records for event day and post-event follow-ups.
- Analyze Attendee Data
- After the event, review the attendee list for insights on registration numbers, attendance, and engagement. Use this data to evaluate the event’s success and improve future planning.
By following these steps, you can effectively add, update, and manage your attendee list in Kago Events, ensuring each attendee’s information is accurate and up to date for your event.